Step-by-Step Guide
How to Add FeedMob Tracking Pixels
With Google Tag Manager
A complete integration guide for CLIENT_NAME to set up event tracking using FeedMob and GTM.
A complete integration guide for CLIENT_NAME to set up event tracking using FeedMob and GTM.
Watch the full walkthrough video for a visual guide to the setup process.
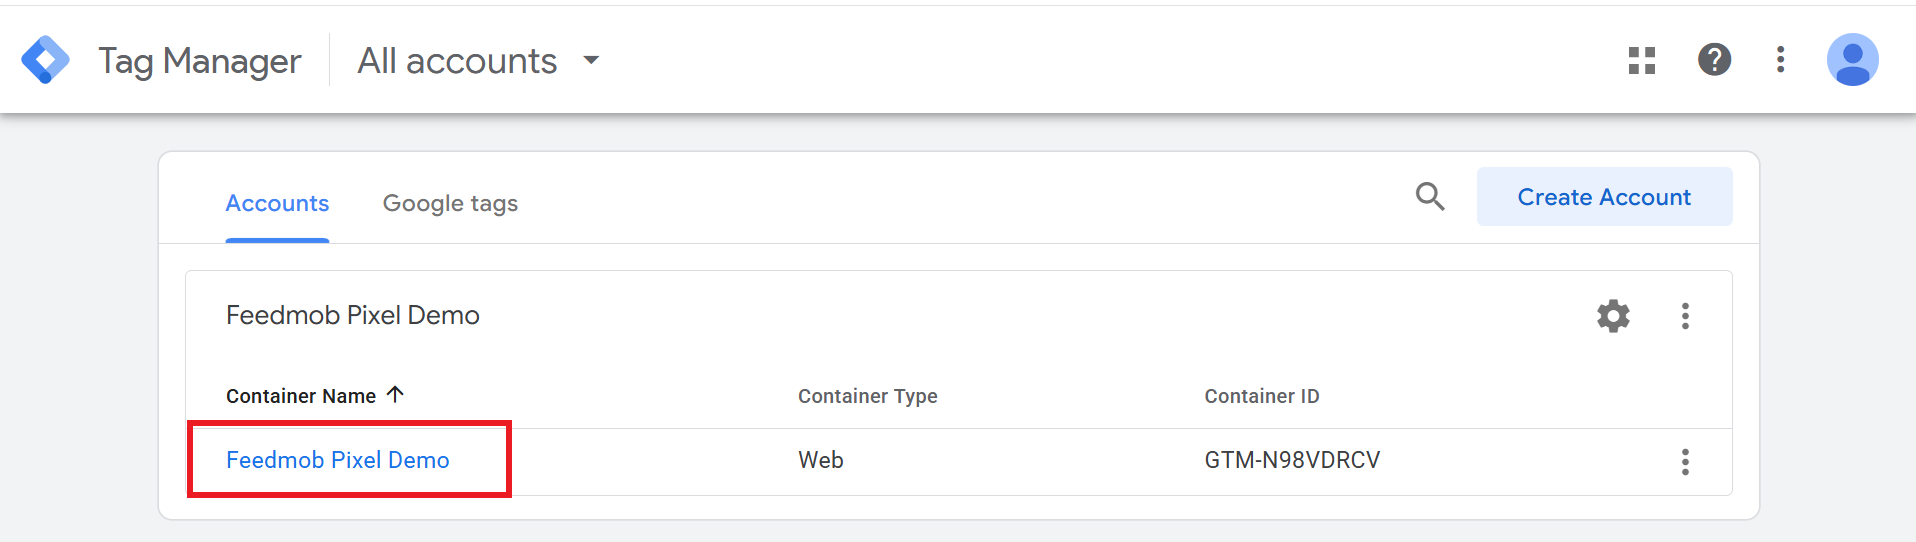
Log in to your Google Tag Manager account to get started.
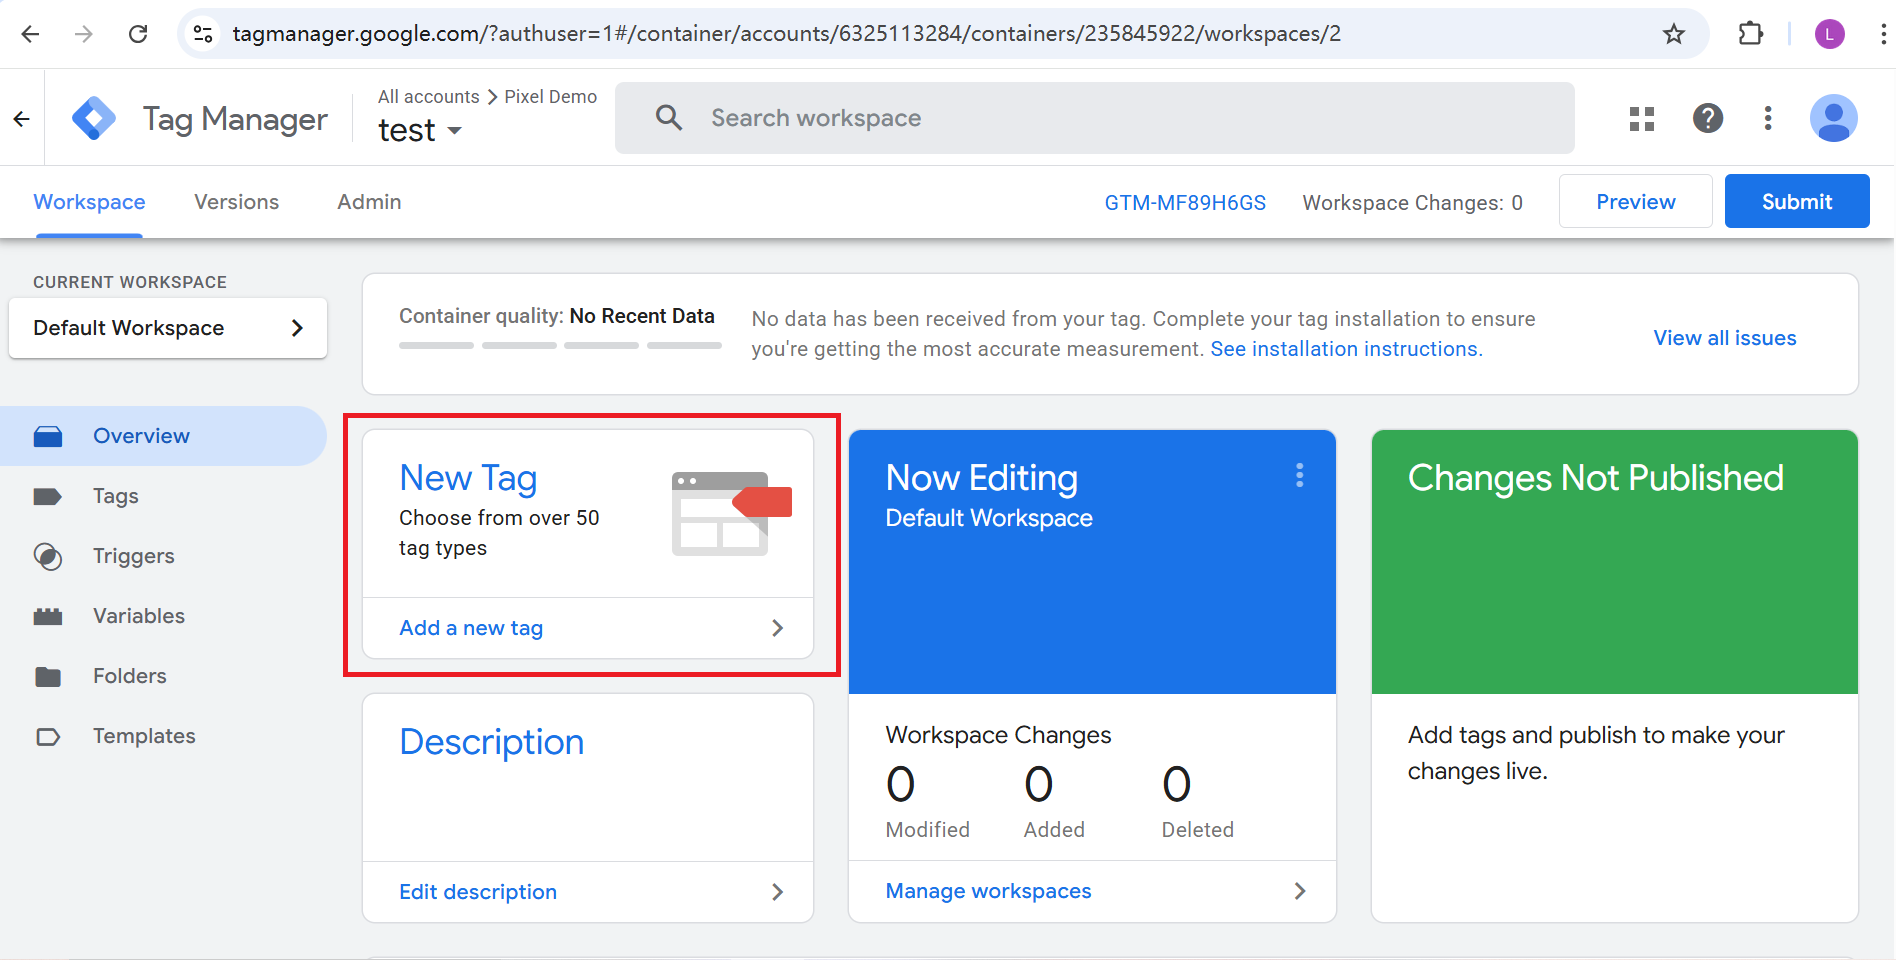
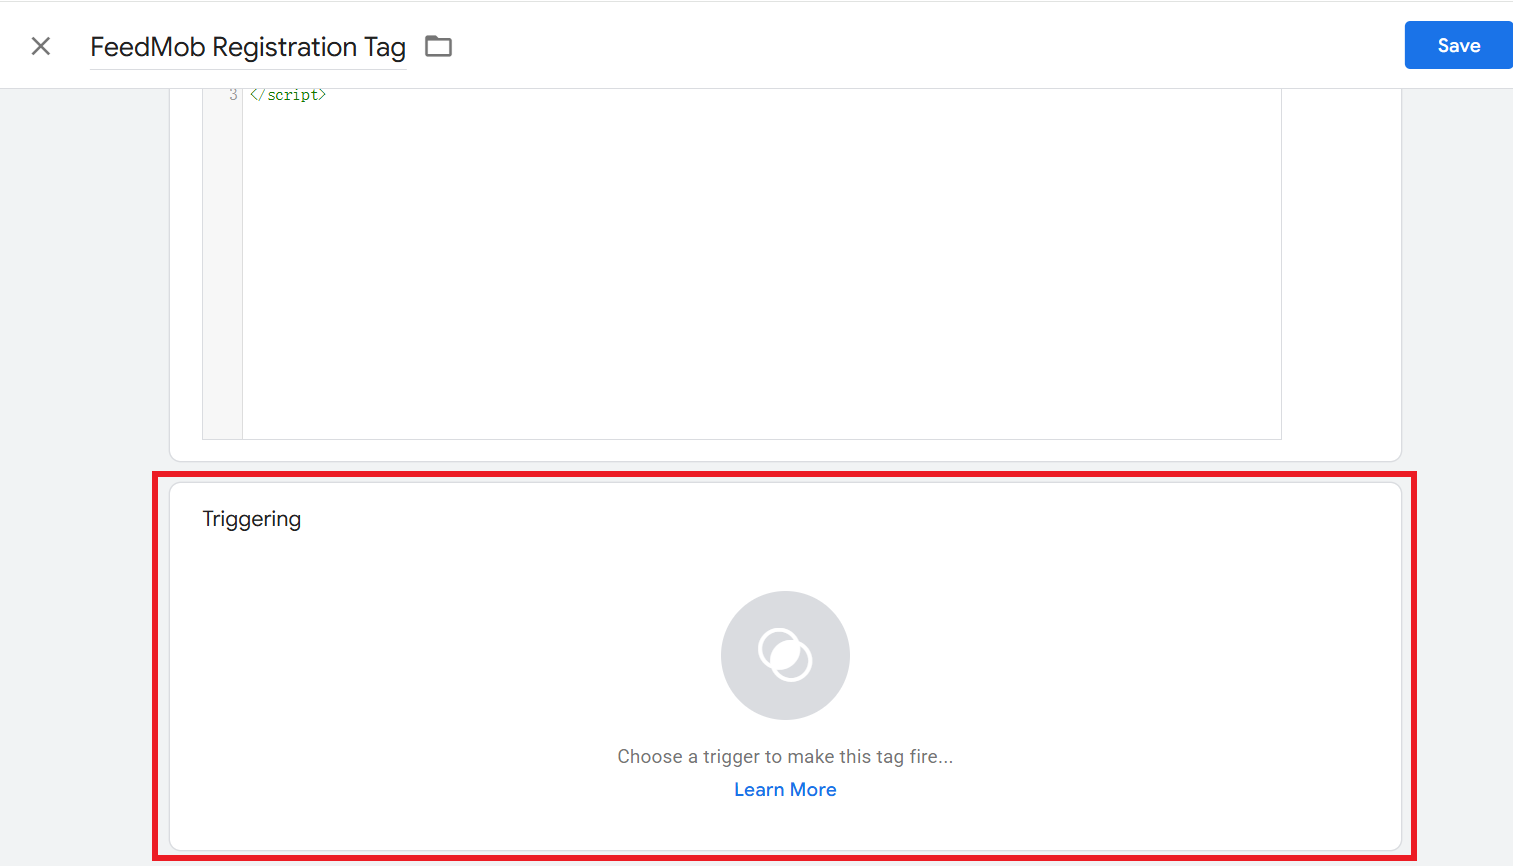
Once inside, click "New Tag" to create and configure your tag.
Custom HTML<script>
!function(e,t,n,s,a,p,c){e[s]||((a=e[s]=function(){a.process?a.process.apply(a,arguments):a.queue.push(arguments)}).queue=[],a.t=+new Date,(p=t.createElement(n)).async=1,p.src="https://feedmob-cdn.s3.amazonaws.com/js/fmpixel.js?t="+864e5*Math.ceil(new Date/864e5),(c=t.getElementsByTagName(n)[0]).parentNode.insertBefore(p,c))}(window,document,"script","fmpix"),fmpix("init","CLIENT_UUID"),fmpix("event","pageload");
</script>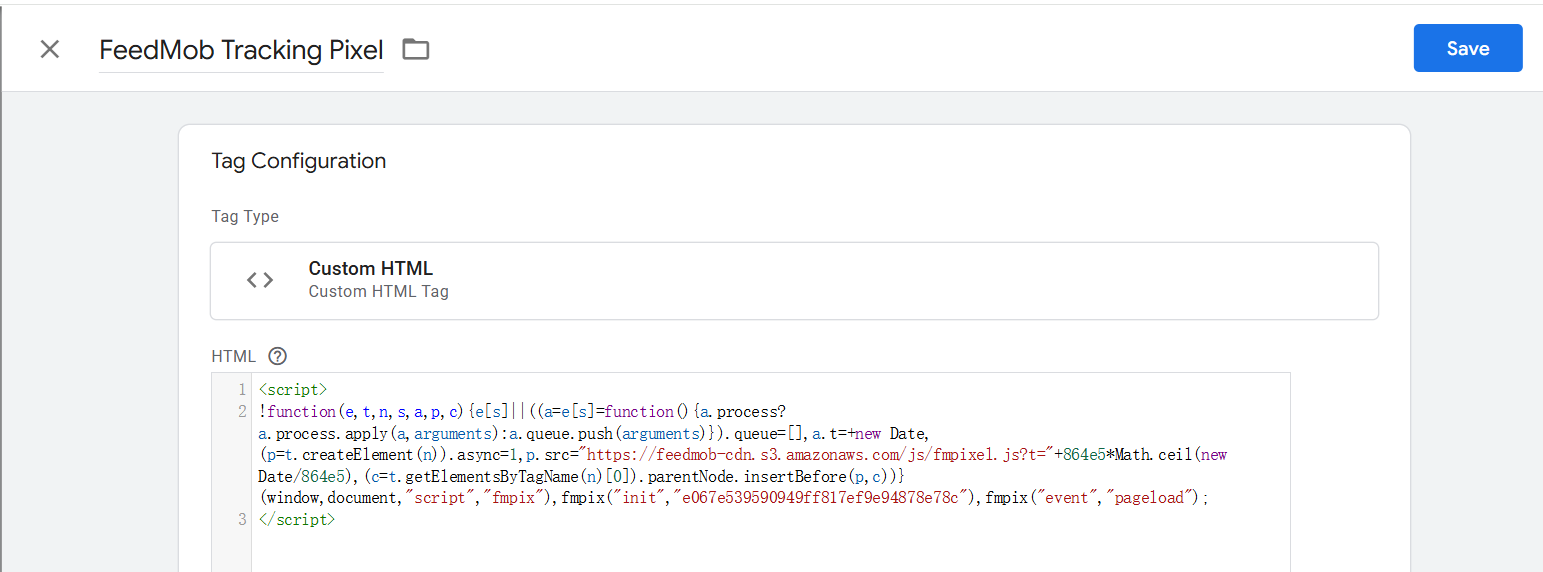
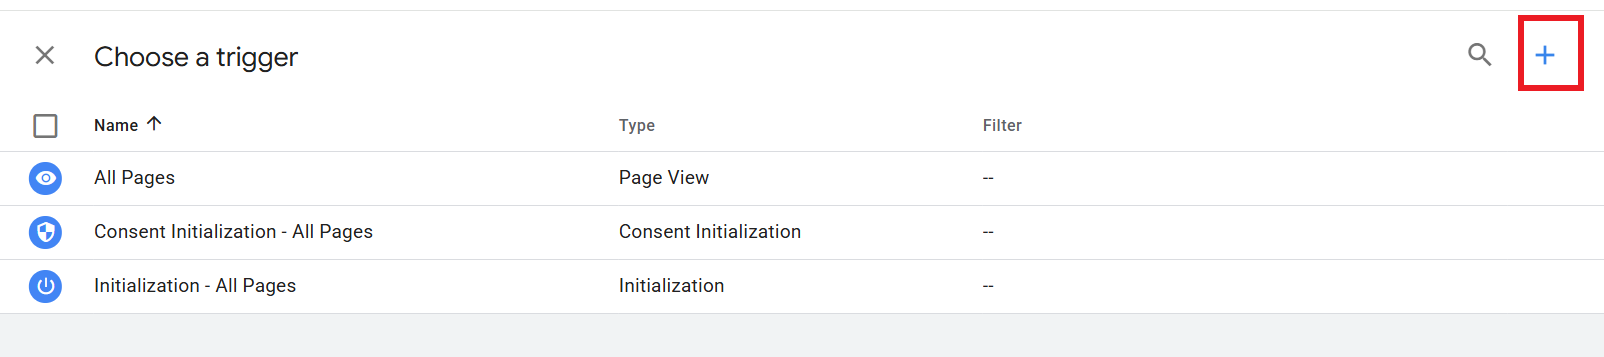
Set up the trigger to fire on All Pages (Page View event) so the base pixel loads on every page.

Custom HTML<script>
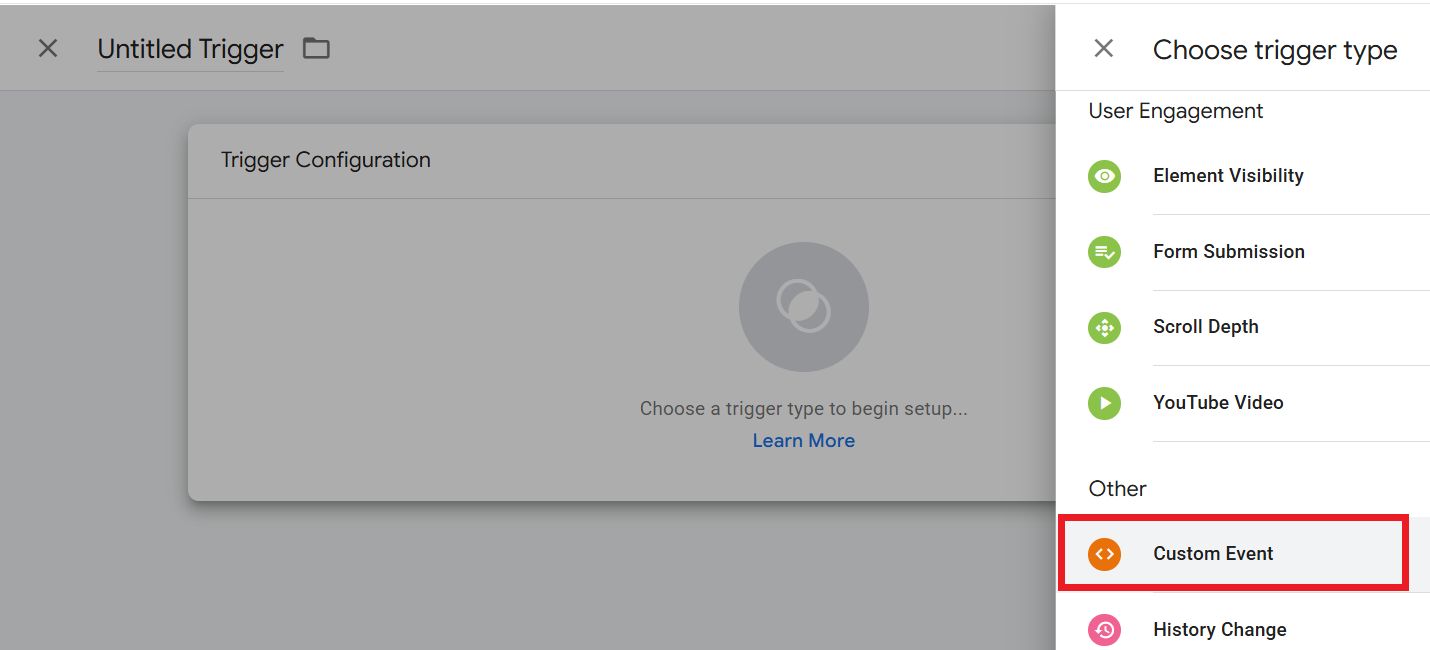
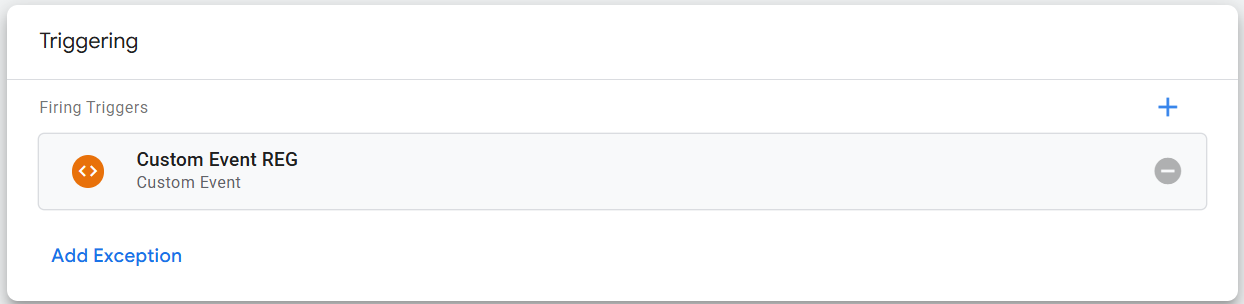
fmpix('event', 'REG')
</script>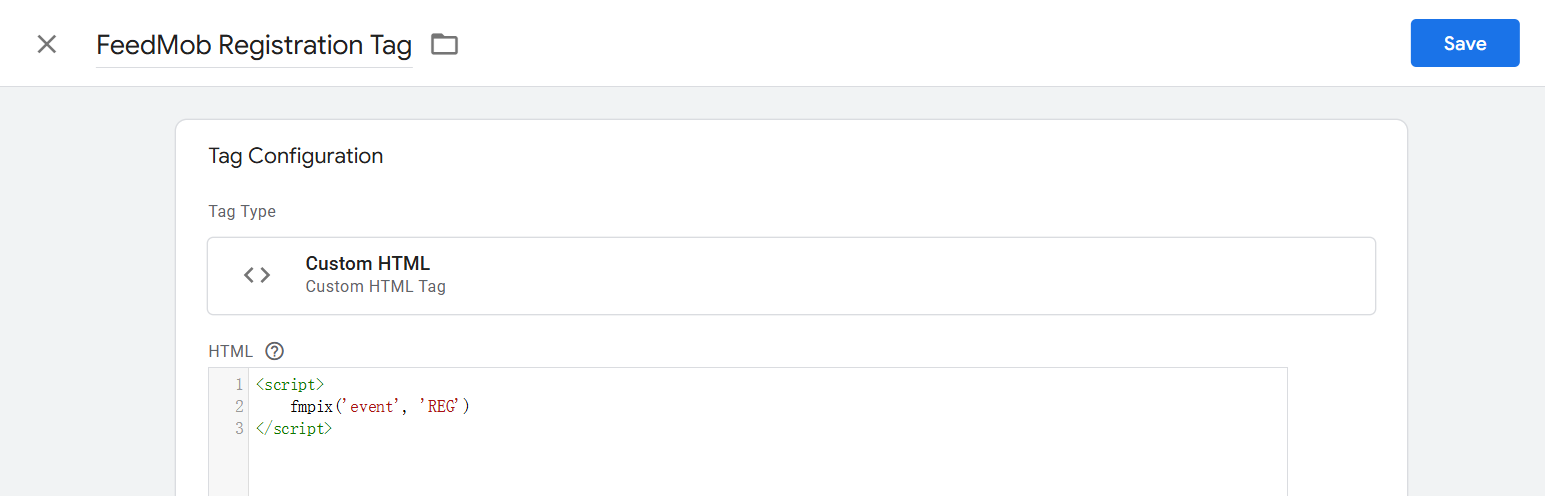
REG)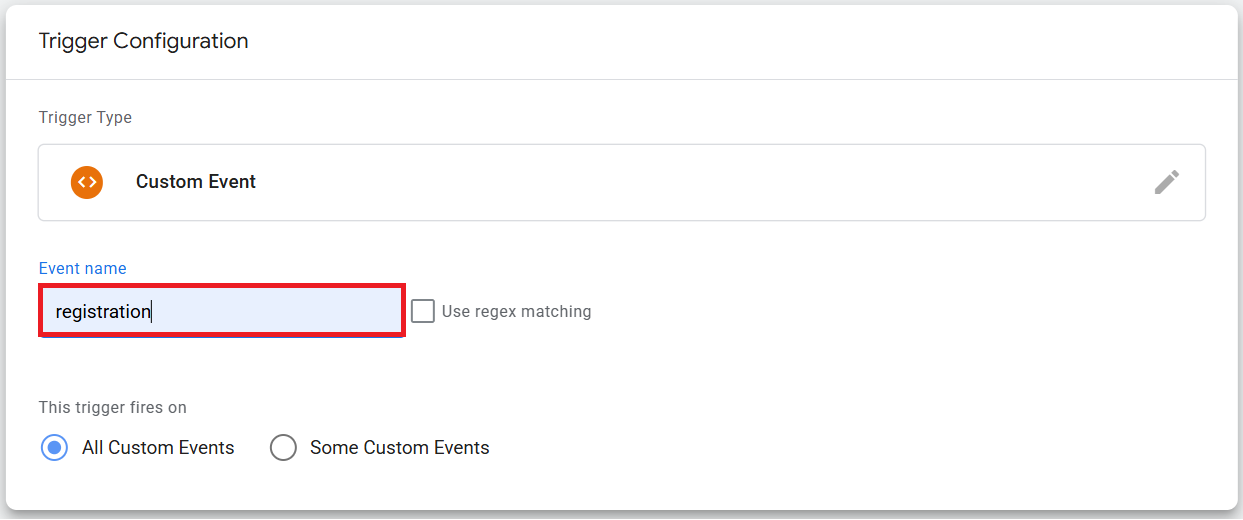
| Event ID | Description | Example Snippet |
|---|---|---|
| REG | Registration | <script> |
Use Google Tag Manager Preview mode to confirm the FeedMob base pixel and event tags fire on the expected pages/actions. You can also check the browser Network tab for requests from the FeedMob pixel script, then ask the FeedMob team to confirm whether test events are being received.
FeedMob uses the data needed for attribution and conversion measurement. The pixel does not require customers to pass directly identifying user information such as names, emails, or phone numbers. If any additional event parameters are required, FeedMob will confirm them with the client before implementation.
The listed events are the standard supported events for this guide. If you need additional events, share the event names and definitions with the FeedMob team so they can confirm mapping and provide the correct event IDs/snippets.
Yes, server-side event reporting can be supported when needed. Please contact the FeedMob team for the server-side integration requirements, event schema, and testing process.
Once the pixel is implemented and the GTM container is published, conversions can usually be received shortly after matching user actions occur. If no conversions appear after testing, confirm that the relevant GTM tags fire correctly and ask FeedMob to verify event receipt.
Feel free to reach out to the FeedMob team with any questions or comments.